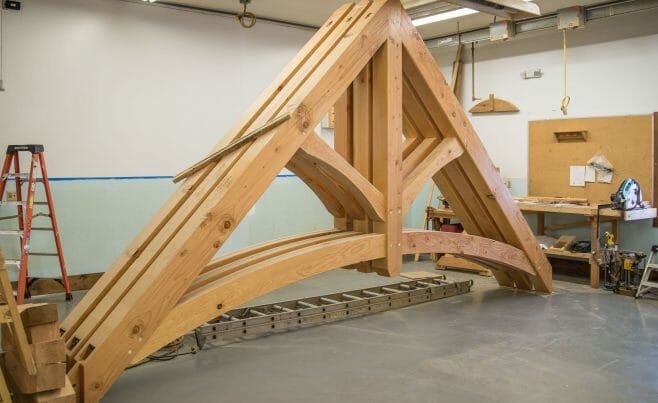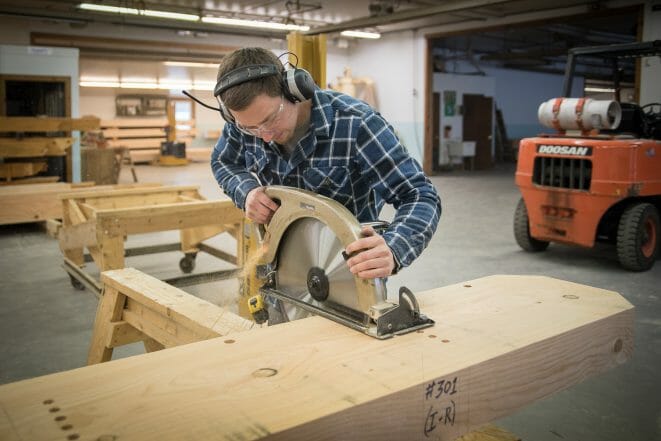
We handcraft all of our timber frames to suit the needs of each client. We use a variety of woods and finishes. We do not build standard post and beam kits. Instead, we match each clients’ need with a timber frame custom designed for them. Then ship the timber frame as a kit for the owner or our crew to assemble and raise.
The Fabrication Process
- 3D Design
- Estimating
- Shop Drawings
- Raw Material Arrives
- Layout
- Hand Craft/Cut Timbers
- Clean Timbers
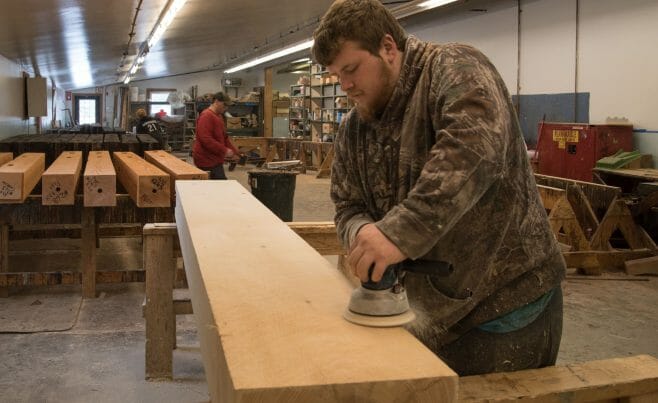
- Sand Timbers
- Apply Finish
- Assemble Trusses
- Load Frame for Shipment
- Raise The Frame
Scroll down the page to see the system and techniques we use to cut, finish, assemble, and raise custom timber frames.
Have a Question?Fabricating Vermont Timber Works Timber Frames
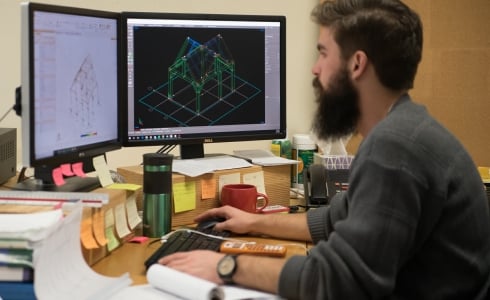
3D Design
The process begins with a 3D design that we create from our client's plans and ideas.
Design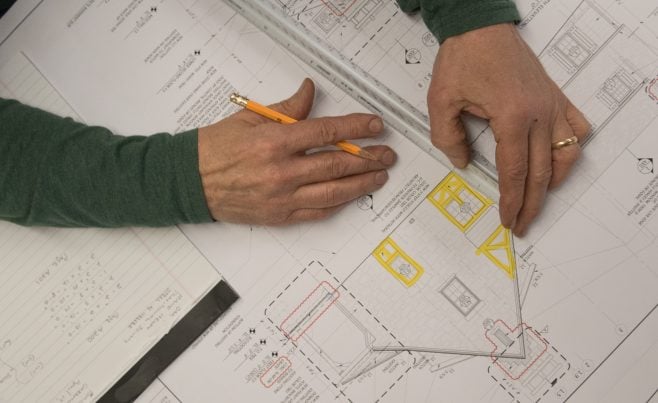
Estimating
Once preliminary drawings are provided by our clients' architects or after we complete a 3d preliminary design, the project goes to Richard, our estimator. He will often do a sketch and then will make a material list for pricing.
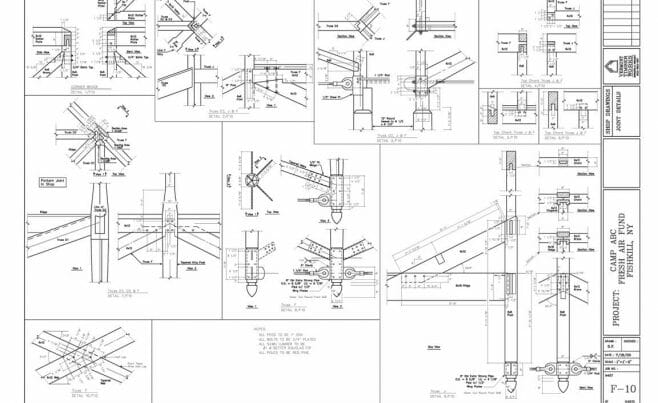
Shop Drawings
When the price has been approved by our client and a deposit received, we prepare detailed shop drawings. The shop drawing process takes place in two parts. First, preliminary drawings are provided for engineering review and material order. Second, we detail all the individual parts and their joinery for the fabrication team to use in the shop.
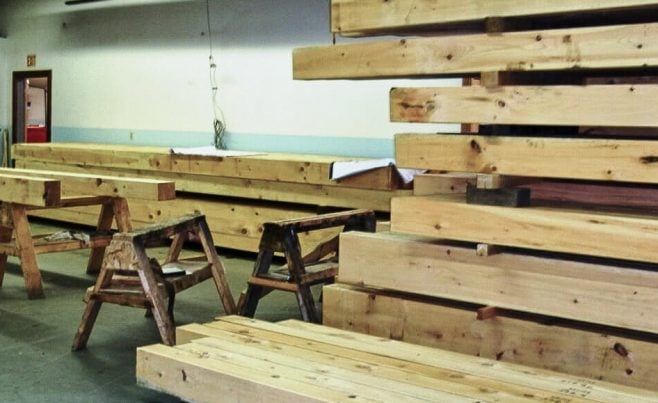
Raw Material Arrives
After a timber order is placed, raw beams are sent to us from the sawmill. This photo shows rough timber that is stacked in our shop and is ready for layout.
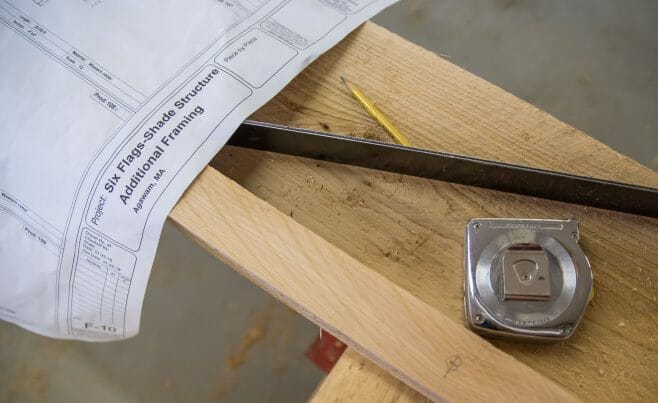
Layout
All of our frames are laid out and cut by hand. Pencil marks are drawn on each piece of timber to show the crew where each cut is to be made. Every beam is oriented for strength and crown appearance (the best side is placed in the most visible location).
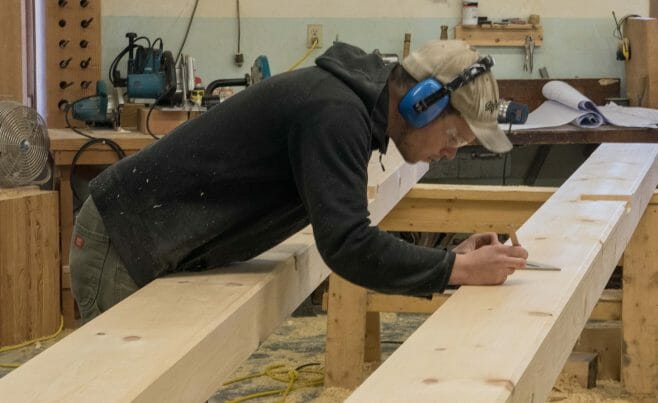
Beams Ready To Cut
Once the beams are marked they get placed on stands for cutting. Our timber framers alwasy double check each mark to make sure that they match the plans before making the cuts.
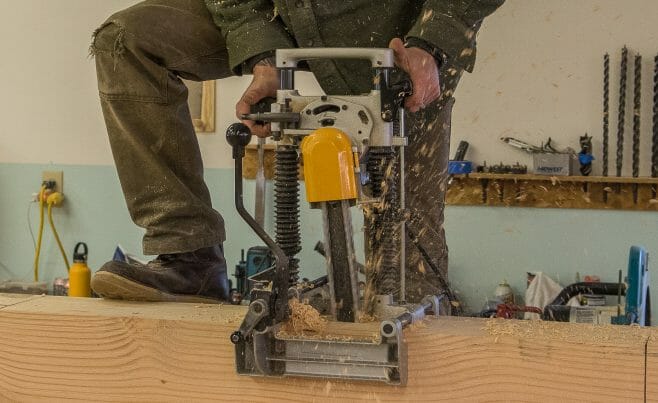
Mortising
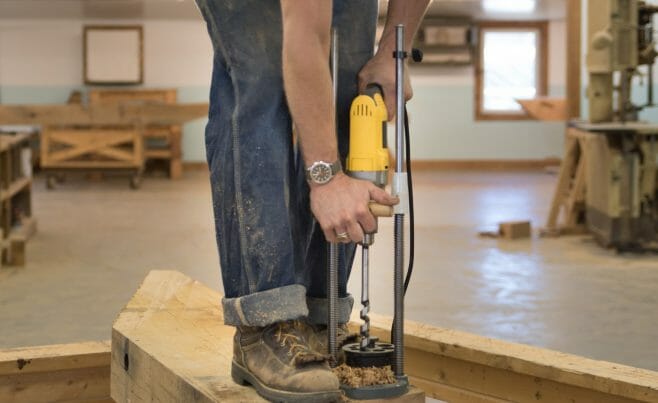
Cody begins the cutting process by punching a mortise into a beam. Next he will notch, drill and cut the beam to length.
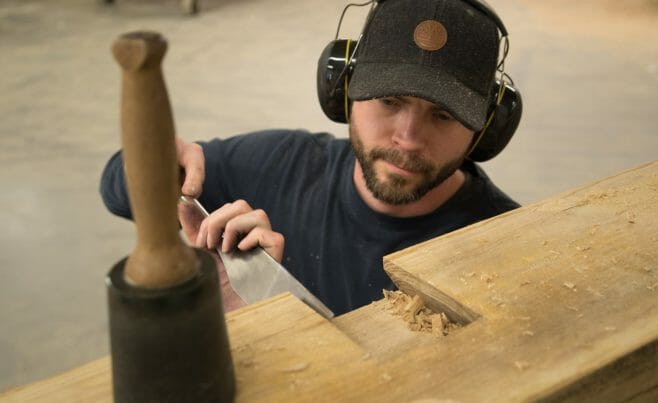
Precision Joinery
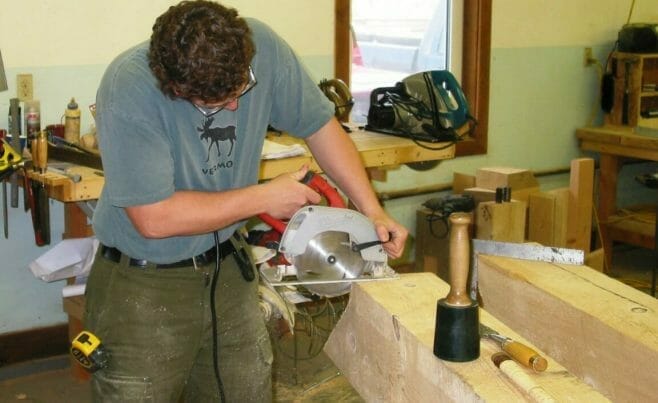
Amos cuts precise joints with a sharp chisel into a heavy oak beam. Each and every joint has to be precisely cut and positioned to ensure that all the components of the frame fit perfectly together.
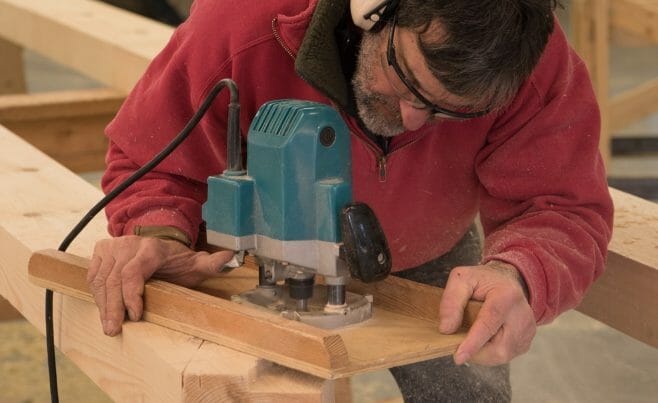
Router
William uses a router to make accurate cuts on the end of a timber and match the computer generated specifications.
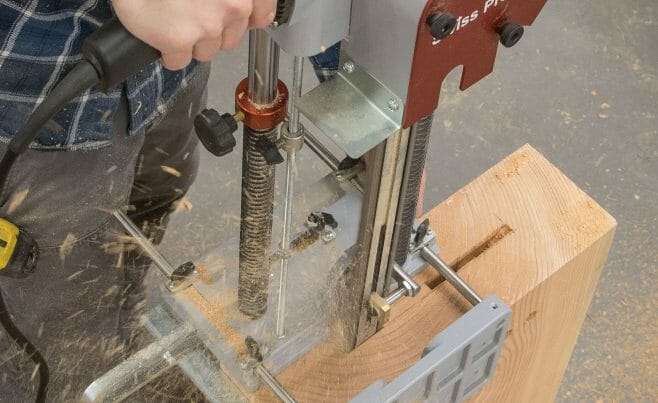
Slotting machine
Our framers use this specialized machine to cut narrow grooves in timbers. This groove will receive a steel plate.
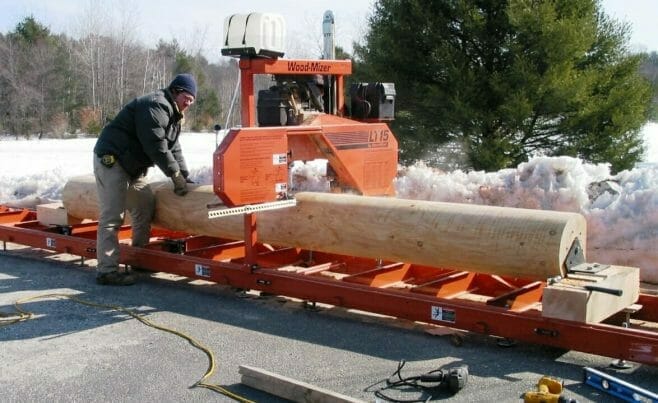
Band Saw Mill
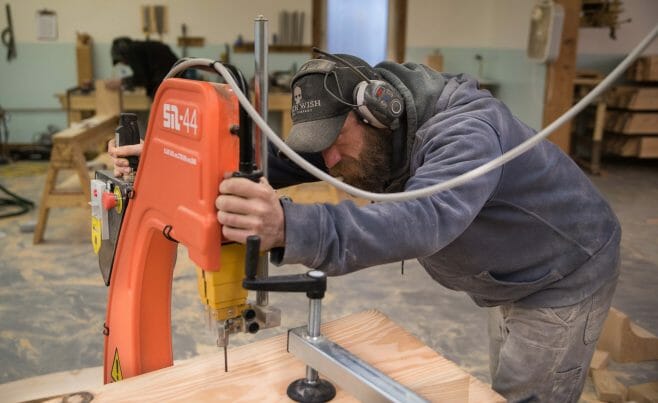
A framer uses the band saw to reshape a round column. Most of the timber we use is sawn at mills that we have been buying from for years. Occasionally we re-saw timber ourselves for small jobs, or use our precision band saw mill to rip angled faces on beams.
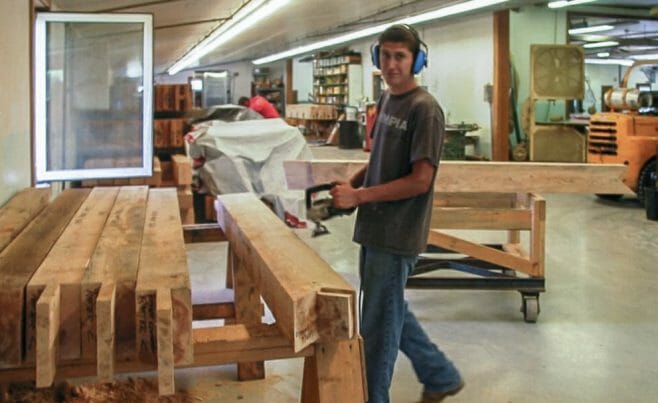
Cleaning Timber
Todd uses a whisker wheel to clean up rough sawn timber. The timbers are cleaned after all the cuts have been made and before they are stained.
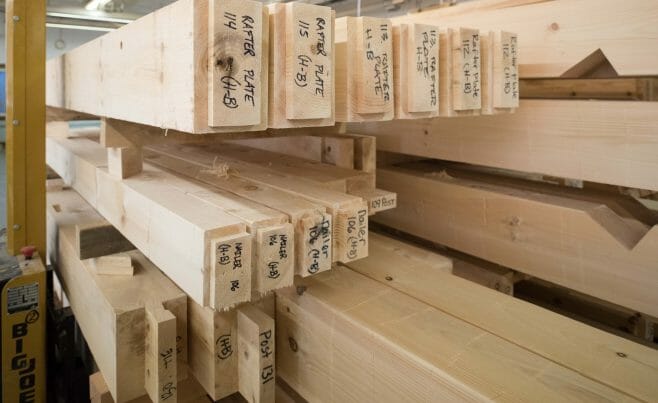
Cut & Cleaned Timbers Ready For Stain
This stack of douglas fir beams is ready for stain or urethane to be applied. All the joints are cut, the peg holes have been drilled and each timber has been individually marked on the end according to its exact location in the frame.
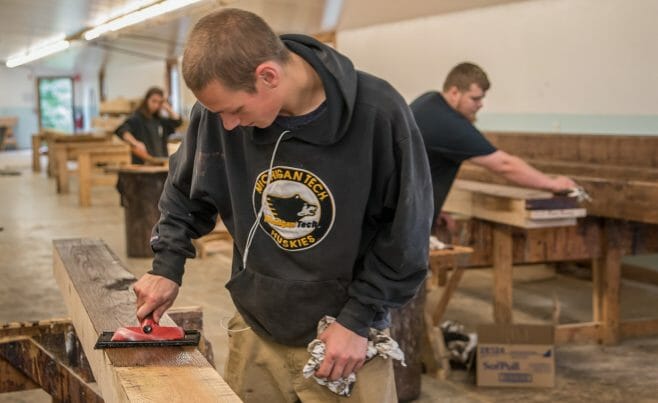
Applying Finish
A framer applies Minwax stain to sanded Douglas Fir with a paint pad. Stain is applied to every beam on all four sides and in all the joint pockets.
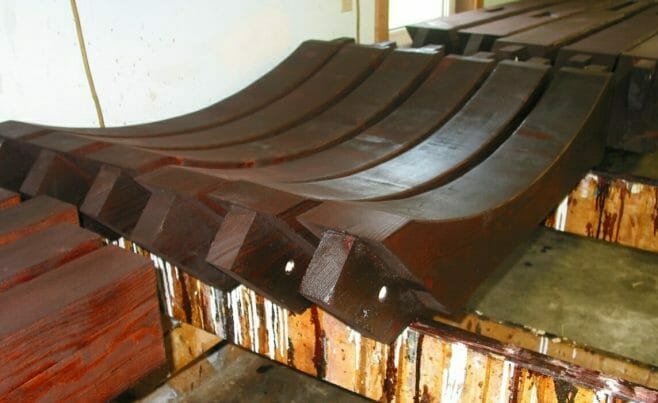
Drying Stain
Arched braces dry after they received a coat of dark stain and a coat of urethane. Notice that all surfaces of the brace have been sealed. The final coat of urethane protects the timber and gives it a nice finish.
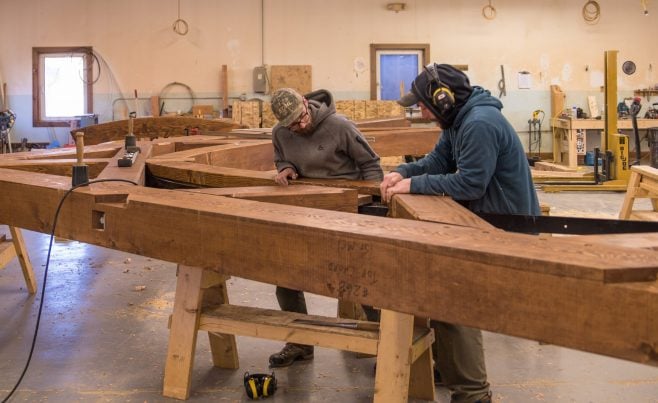
Assembling Trusses In The Shop
We assemble trusses in the shop when they are less than ten feet tall, and then ship them assembled, ready to be installed. We ship trusses unassembled when they are larger than 10 feet. If we ship large trusses to an outside contractor, we will pre-assemble the trusses in the shop to make sure that all the joints fit properly before we ship the unassembled parts. If the plan is for our crew to do a large truss installation then we will do the final fit on the job site.
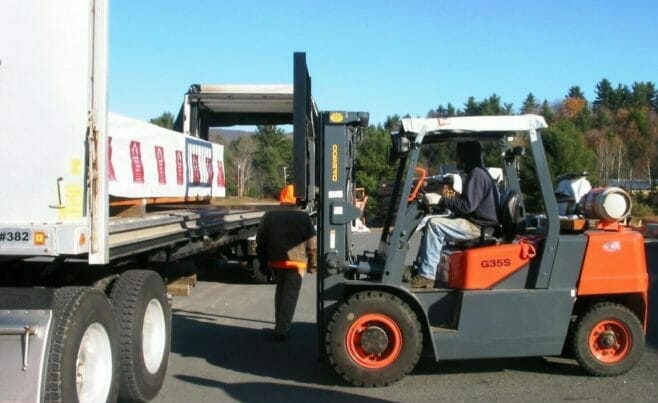
Truck Loading
A forklift places paper wrapped beam packages on a tractor trailer truck to be delivered to the job site.
Click here to see the next steps of Assembly and Raising